About the dbt Cloud IDE
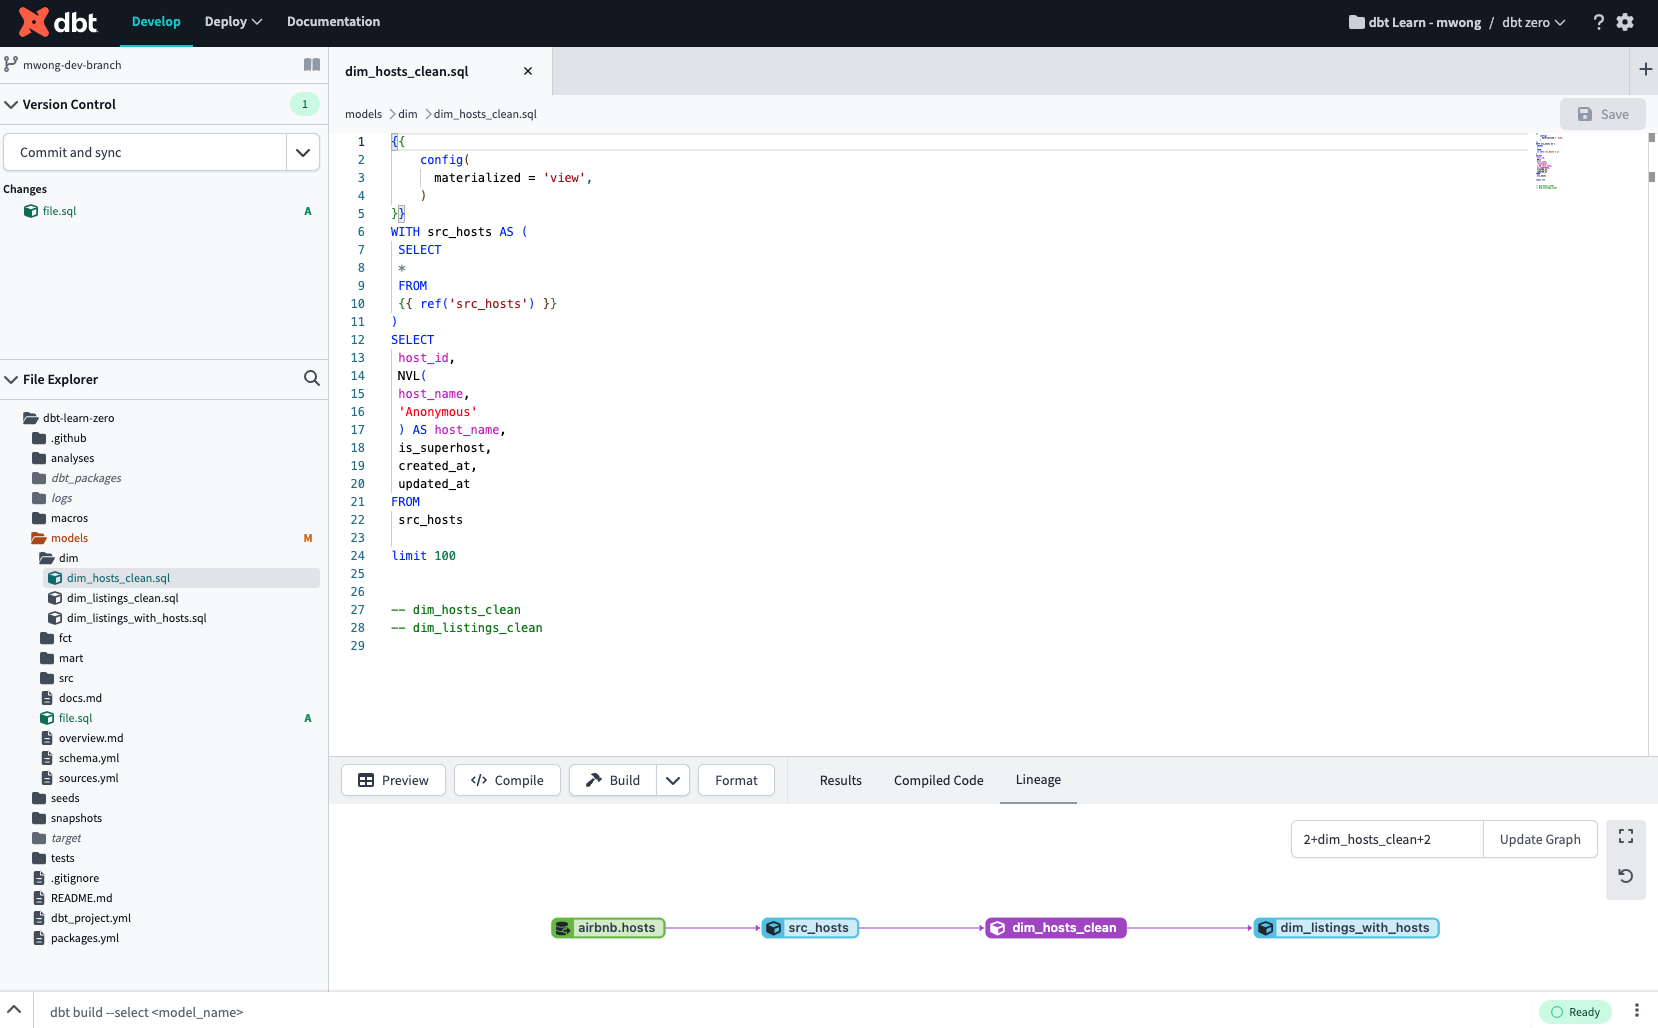
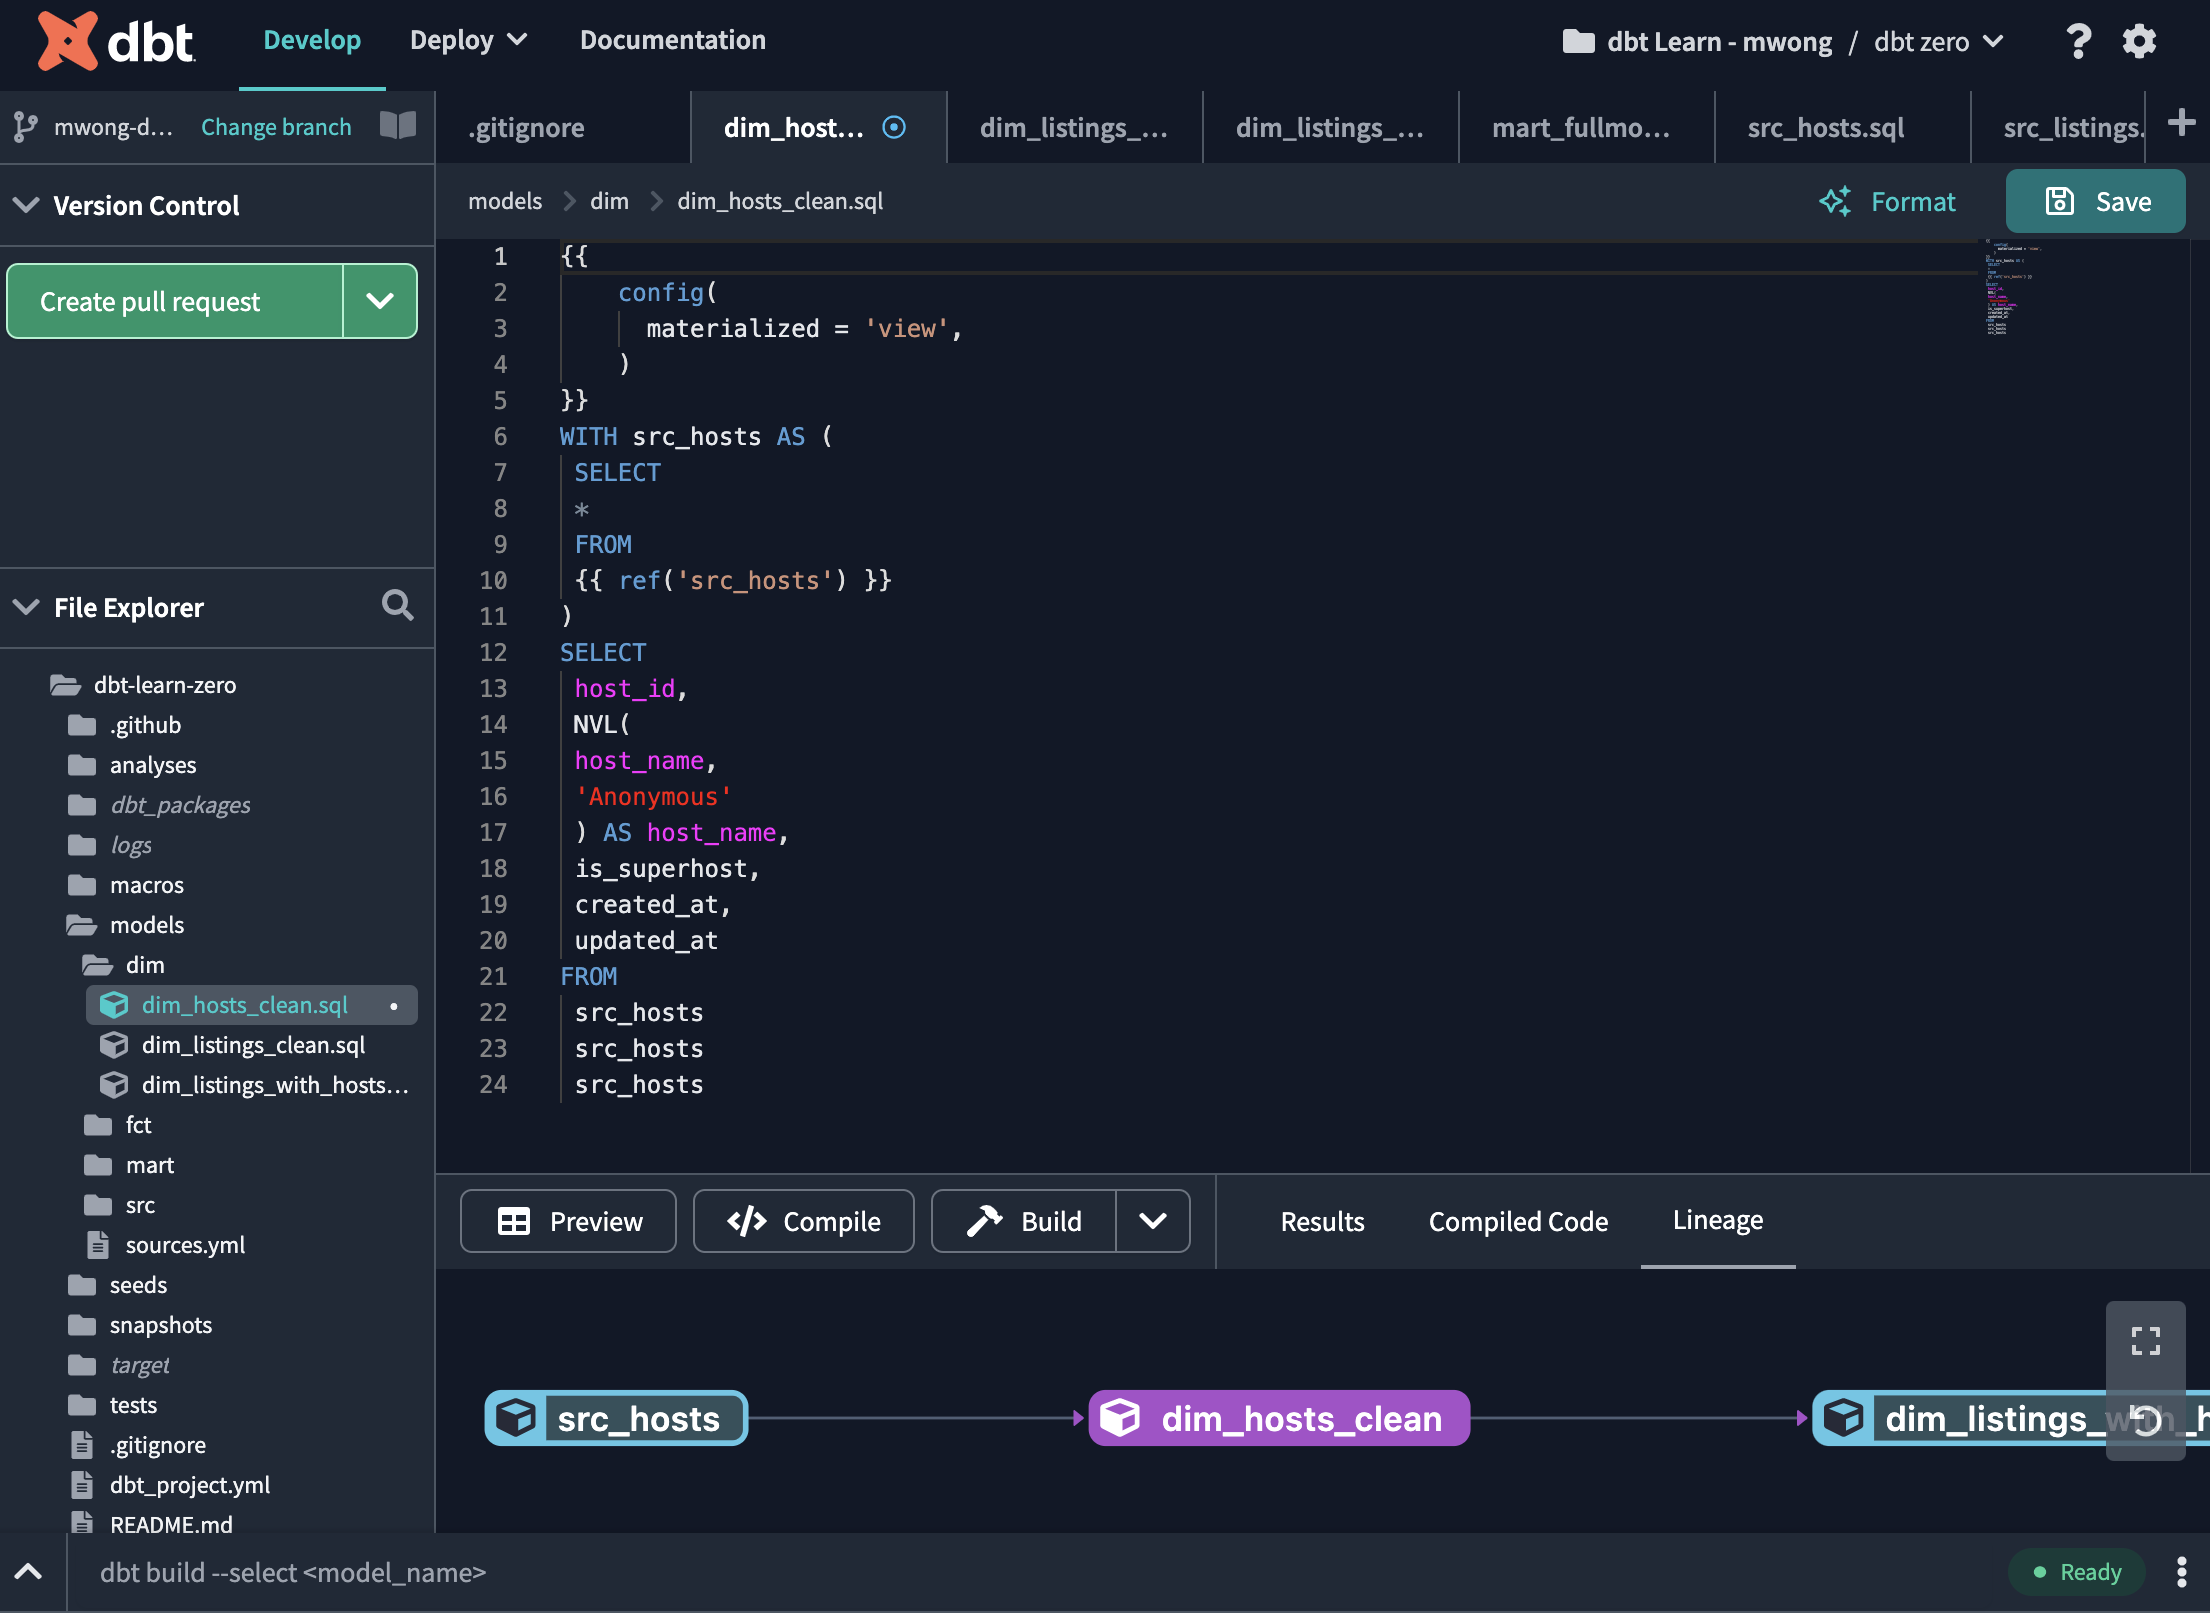
The dbt Cloud integrated development environment (IDE) is a single web-based interface for building, testing, running, and version-controlling dbt projects. It compiles dbt code into SQL and executes it directly on your database.
The dbt Cloud IDE offers several keyboard shortcuts and editing features for faster and efficient development and governance:
- Syntax highlighting for SQL — Makes it easy to distinguish different parts of your code, reducing syntax errors and enhancing readability.
- AI co-pilot — Use dbt Assist, a powerful AI co-pilot feature, to generate documentation and tests for your dbt SQL models.
- Auto-completion — Suggests table names, arguments, and column names as you type, saving time and reducing typos.
- Code formatting and linting — Helps standardize and fix your SQL code effortlessly.
- Navigation tools — Easily move around your code, jump to specific lines, find and replace text, and navigate between project files.
- Version control — Manage code versions with a few clicks.
- Project documentation — Generate and view your project documentation for your dbt project in real-time.
- Build, test, and run button — Build, test, and run your project with a button click or by using the Cloud IDE command bar.
These features create a powerful editing environment for efficient SQL coding, suitable for both experienced and beginner developers.
To improve your experience using dbt Cloud, we suggest that you turn off ad blockers. This is because some project file names, such as google_adwords.sql, might resemble ad traffic and trigger ad blockers.
Prerequisites
- A dbt Cloud account and Developer seat license
- A git repository set up and git provider must have
writeaccess enabled. See Connecting your GitHub Account or Importing a project by git URL for detailed setup instructions - A dbt project connected to a data platform
- A development environment and development credentials set up
- The environment must be on dbt version 1.0 or higher
dbt Cloud IDE features
The dbt Cloud IDE comes with features that make it easier for you to develop, build, compile, run, and test data models.
To understand how to navigate the IDE and its user interface elements, refer to the IDE user interface page.
| Feature | Description |
|---|---|
| Keyboard shortcuts | You can access a variety of commands and actions in the IDE by choosing the appropriate keyboard shortcut. Use the shortcuts for common tasks like building modified models or resuming builds from the last failure. |
| IDE version control | The IDE version control section and git button allow you to apply the concept of version control to your project directly into the IDE. - Create or change branches, execute git commands using the git button. - Commit or revert individual files by right-clicking the edited file - Resolve merge conflicts - Link to the repo directly by clicking the branch name - Edit, format, or lint files and execute dbt commands in your primary protected branch, and commit to a new branch. - Use Git diff view to view what has been changed in a file before you make a pull request. - From dbt version 1.6 and higher, use the Prune branches button to delete local branches that have been deleted from the remote repository, keeping your branch management tidy. |
| Preview and Compile button | You can compile or preview code, a snippet of dbt code, or one of your dbt models after editing and saving. |
| dbt Assist beta | A powerful AI co-pilot feature that generates documentation and tests for your dbt SQL models. Available for dbt Cloud Enterprise plans. |
| Build, test, and run button | Build, test, and run your project with a button click or by using the Cloud IDE command bar. |
| Command bar | You can enter and run commands from the command bar at the bottom of the IDE. Use the rich model selection syntax to execute dbt commands directly within dbt Cloud. You can also view the history, status, and logs of previous runs by clicking History on the left of the bar. |
| Drag and drop | Drag and drop files located in the file explorer, and use the file breadcrumb on the top of the IDE for quick, linear navigation. Access adjacent files in the same file by right-clicking on the breadcrumb file. |
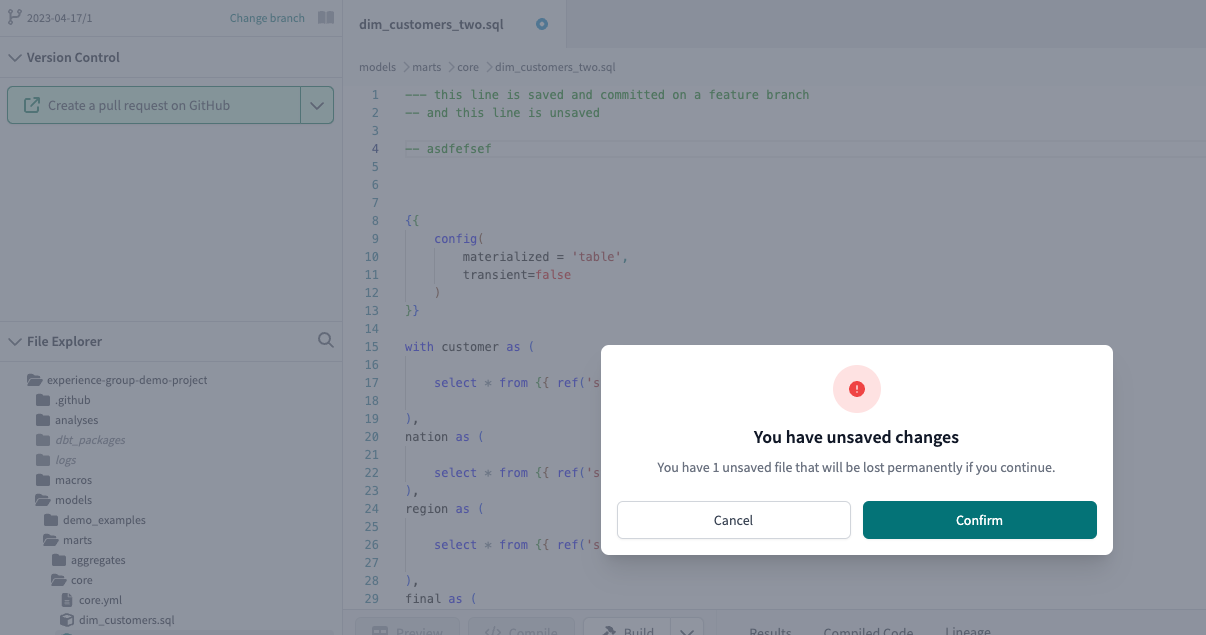
| Organize tabs and files | - Move your tabs around to reorganize your work in the IDE - Right-click on a tab to view and select a list of actions, including duplicate files - Close multiple, unsaved tabs to batch save your work - Double click files to rename files |
| Find and replace | - Press Command-F or Control-F to open the find-and-replace bar in the upper right corner of the current file in the IDE. The IDE highlights your search results in the current file and code outline - You can use the up and down arrows to see the match highlighted in the current file when there are multiple matches - Use the left arrow to replace the text with something else |
| Multiple selections | You can make multiple selections for small and simultaneous edits. The below commands are a common way to add more cursors and allow you to insert cursors below or above with ease. - Option-Command-Down arrow or Ctrl-Alt-Down arrow - Option-Command-Up arrow or Ctrl-Alt-Up arrow - Press Option and click on an area or Press Ctrl-Alt and click on an area |
| Lint and Format | Lint and format your files with a click of a button, powered by SQLFluff, sqlfmt, Prettier, and Black. |
| dbt autocomplete | Autocomplete features to help you develop faster: - Use ref to autocomplete your model names- Use source to autocomplete your source name + table name- Use macro to autocomplete your arguments- Use env var to autocomplete env var- Start typing a hyphen (-) to use in-line autocomplete in a YAML filebr /> - Automatically create models from dbt sources with a click of a button. |
| DAG in the IDE | You can see how models are used as building blocks from left to right to transform your data from raw sources into cleaned-up modular derived pieces and final outputs on the far right of the DAG. The default view is 2+model+2 (defaults to display 2 nodes away), however, you can change it to +model+ (full DAG). Note the --exclude flag isn't supported. |
| Status bar | This area provides you with useful information about your IDE and project status. You also have additional options like enabling light or dark mode, restarting the IDE, or recloning your repo. |
| Dark mode | From the status bar in the Cloud IDE, enable dark mode for a great viewing experience in low-light environments. |
Code generation
The dbt Cloud IDE comes with CodeGenCodeLens, a powerful feature that simplifies creating models from your sources with a click of a button. To use this feature, click on the Generate model action next to each table in the source YAML file(s). It automatically creates a basic starting staging model for you to expand on. This feature helps streamline your workflow by automating the first steps of model generation.
dbt YAML validation
Use dbt-jsonschema to validate dbt YAML files, helping you leverage the autocomplete and assistance capabilities of the dbt Cloud IDE. This also provides immediate feedback on YAML file structure and syntax, helping you make sure your project configurations meet the required standards.
Get started with the Cloud IDE
In order to start experiencing the great features of the Cloud IDE, you need to first set up a dbt Cloud development environment. In the following steps, we outline how to set up developer credentials and access the IDE. If you're creating a new project, you will automatically configure this during the project setup.
The IDE uses developer credentials to connect to your data platform. These developer credentials should be specific to your user and they should not be super user credentials or the same credentials that you use for your production deployment of dbt.
Set up your developer credentials:
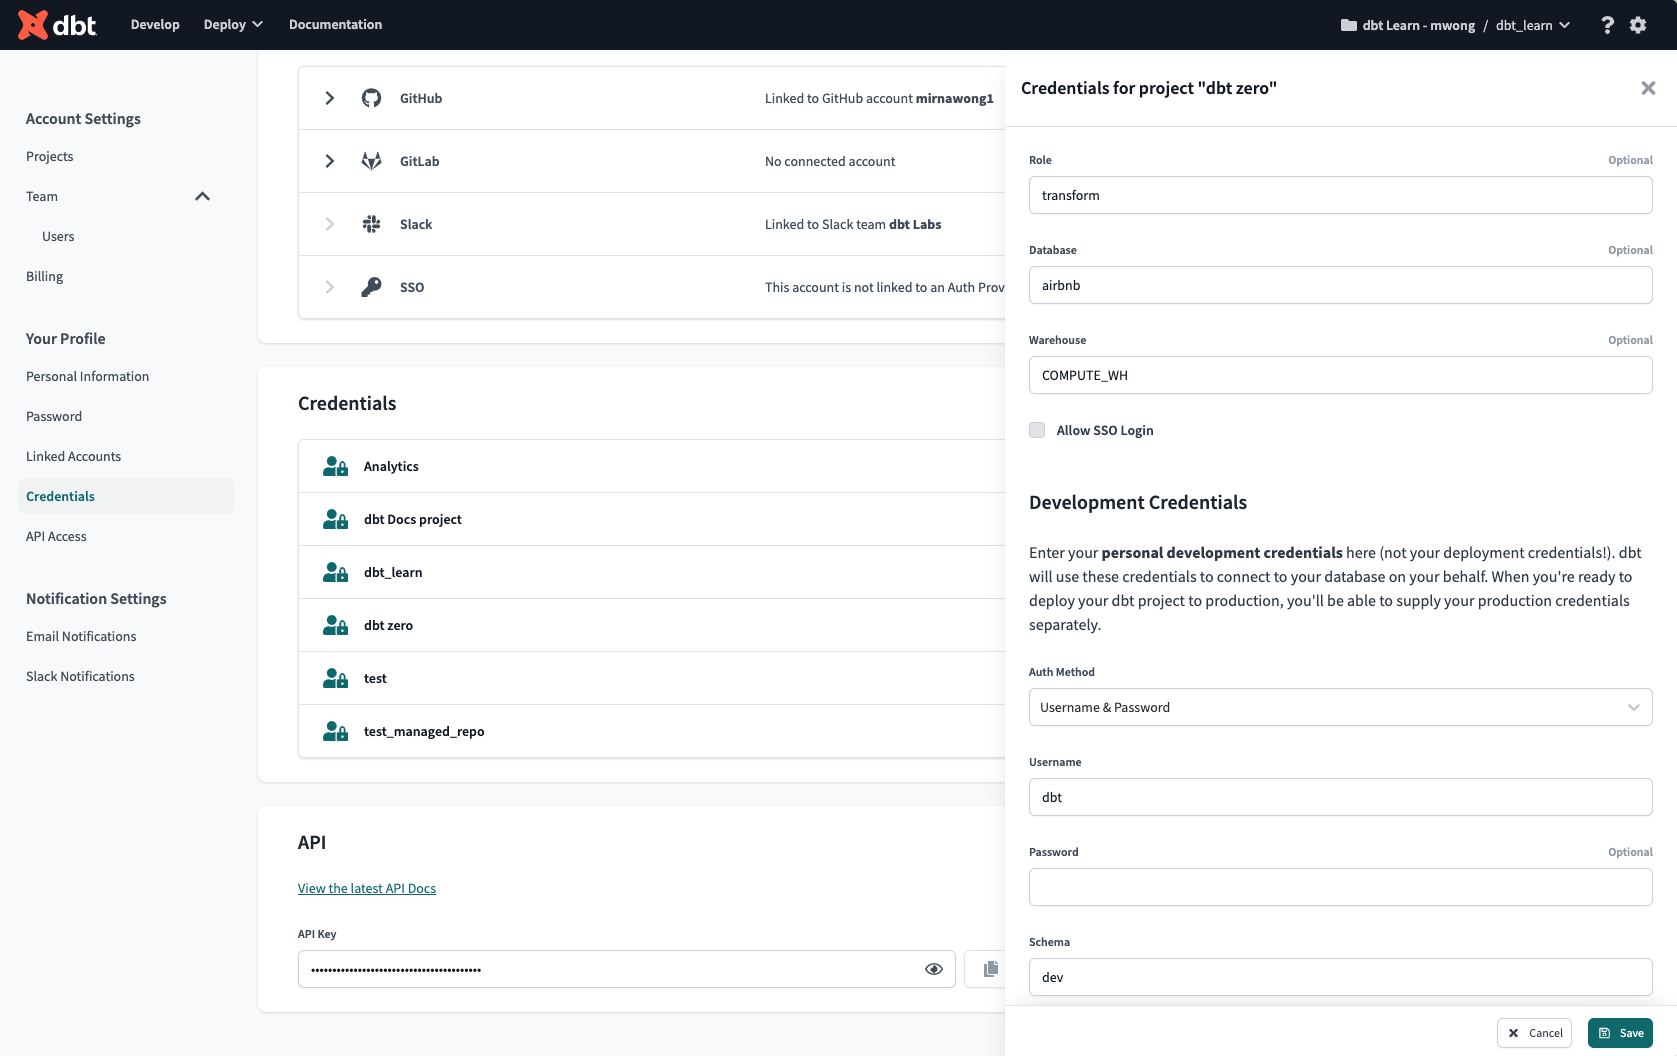
- Navigate to your Credentials under Your Profile settings, which you can access at
https://YOUR_ACCESS_URL/settings/profile#credentials, replacingYOUR_ACCESS_URLwith the appropriate Access URL for your region and plan. - Select the relevant project in the list.
- Click Edit on the bottom right of the page.
- Enter the details under Development Credentials.
- Click Save.
- Access the Cloud IDE by clicking Develop at the top of the page.
- Initialize your project and familiarize yourself with the IDE and its delightful features.
Nice job, you're ready to start developing and building models 🎉!
Considerations
-
To improve your experience using dbt Cloud, we suggest that you turn off ad blockers. This is because some project file names, such as
google_adwords.sql, might resemble ad traffic and trigger ad blockers. -
To preserve performance, there's a file size limitation for repositories over 6 GB. If you have a repo over 6 GB, please contact dbt Support before running dbt Cloud.
Build and document your projects
-
Build, compile, and run projects — You can build, compile, run, and test dbt projects using the command bar or Build button. Use the Build button to quickly build, run, or test the model you're working on. The Cloud IDE will update in real time when you run models, tests, seeds, and operations.
- If a model or test fails, dbt Cloud makes it easy for you to view and download the run logs for your dbt invocations to fix the issue.
- Use dbt's rich model selection syntax to run dbt commands directly within dbt Cloud.
- Starting from dbt v1.6, leverage environments variables to dynamically use the Git branch name. For example, using the branch name as a prefix for a development schema.
-
Generate your YAML configurations with dbt Assist beta — dbt Assist is a powerful artificial intelligence (AI) co-pilot feature that helps automate development in dbt Cloud. It generates documentation and tests for your dbt SQL models directly in the dbt Cloud IDE, with a click of a button, and helps you accomplish more in less time. Available for dbt Cloud Enterprise plans.
-
Build and view your project's docs — The dbt Cloud IDE makes it possible to build and view documentation for your dbt project while your code is still in development. With this workflow, you can inspect and verify what your project's generated documentation will look like before your changes are released to production.


